🚚 Free Worldwide Shipping on All Orders!Shop Now
$7.58
Original: $25.28
-70%Gen3 to Gen3.1 Tri-Conical Collection Container Upgrade Kit—
$25.28
$7.58The Story
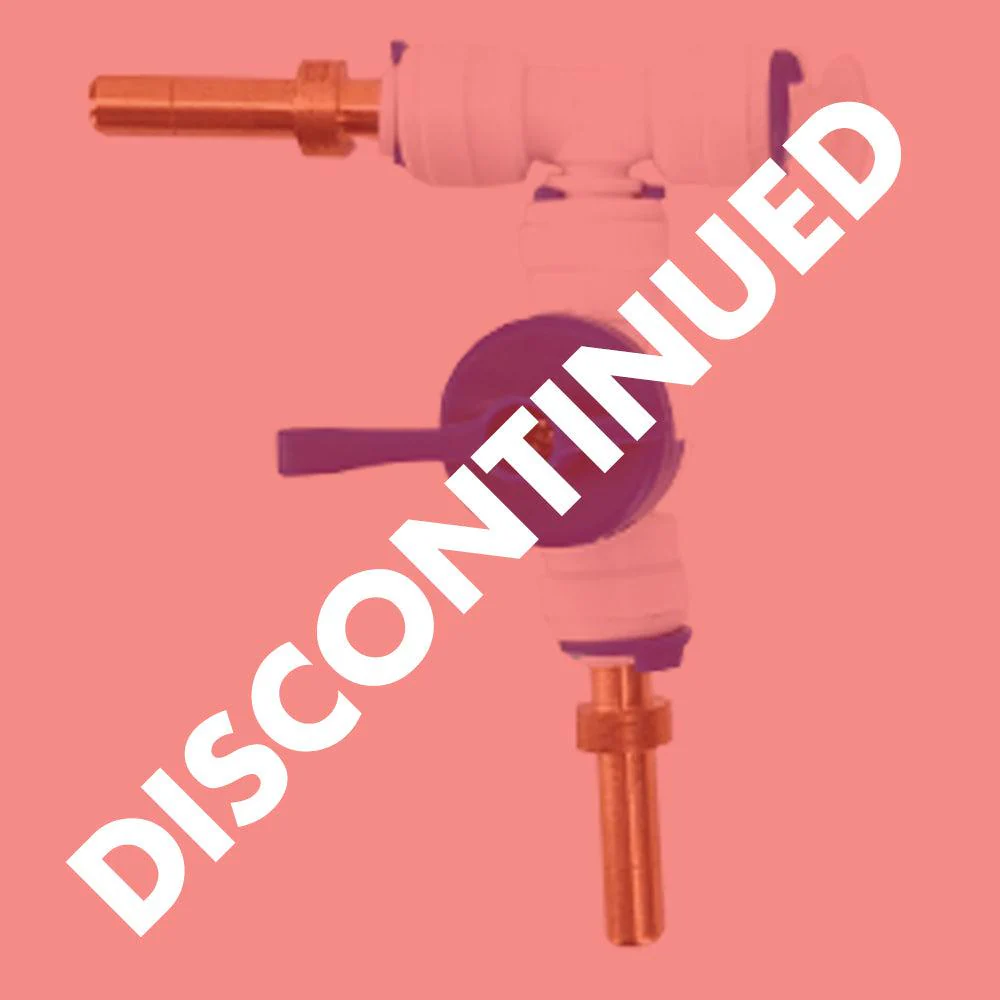
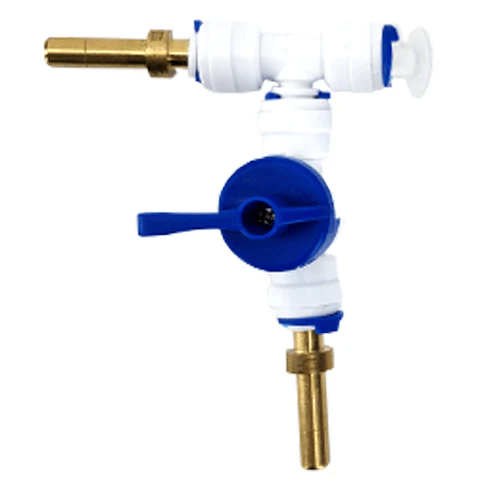
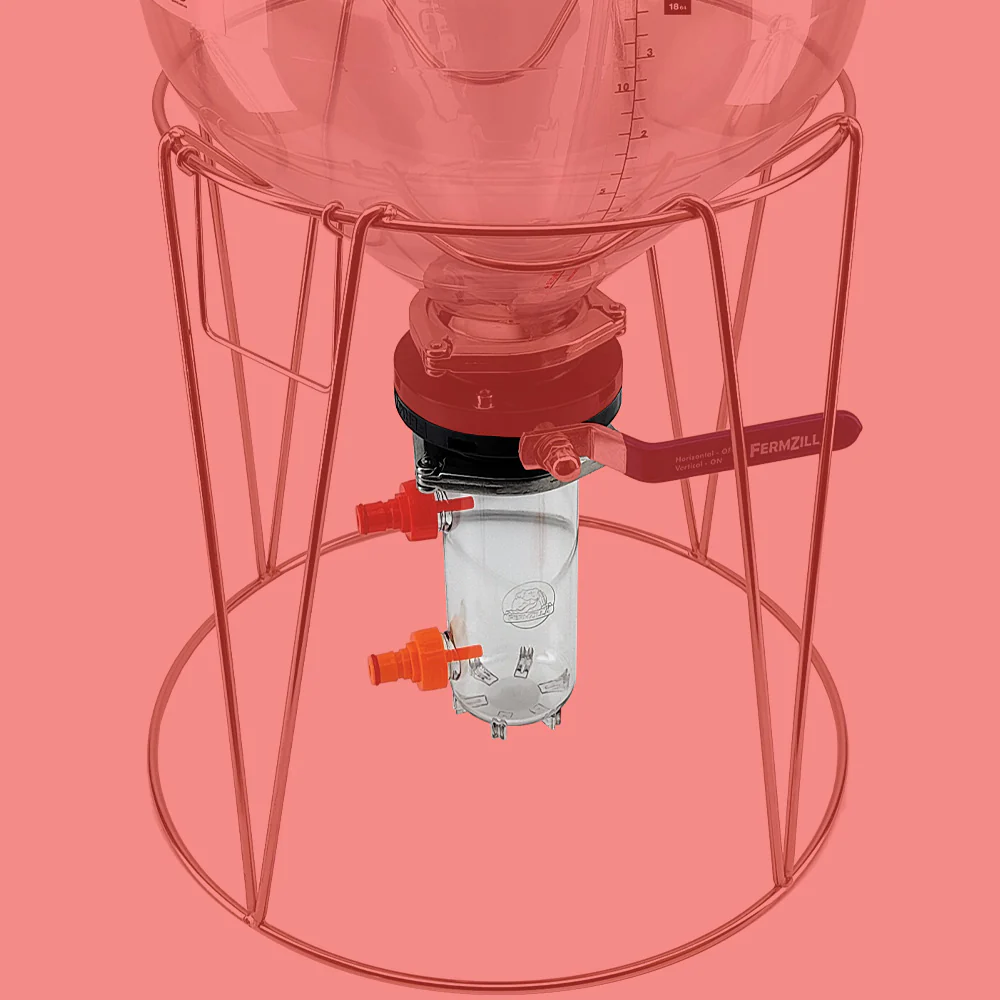
To upgrade your FermZilla Tri-Conical 1000mL Threaded collection container to the Generation 3.1 600mL x 3 Inch Tri-Clover you will need this kit.
Instructions:
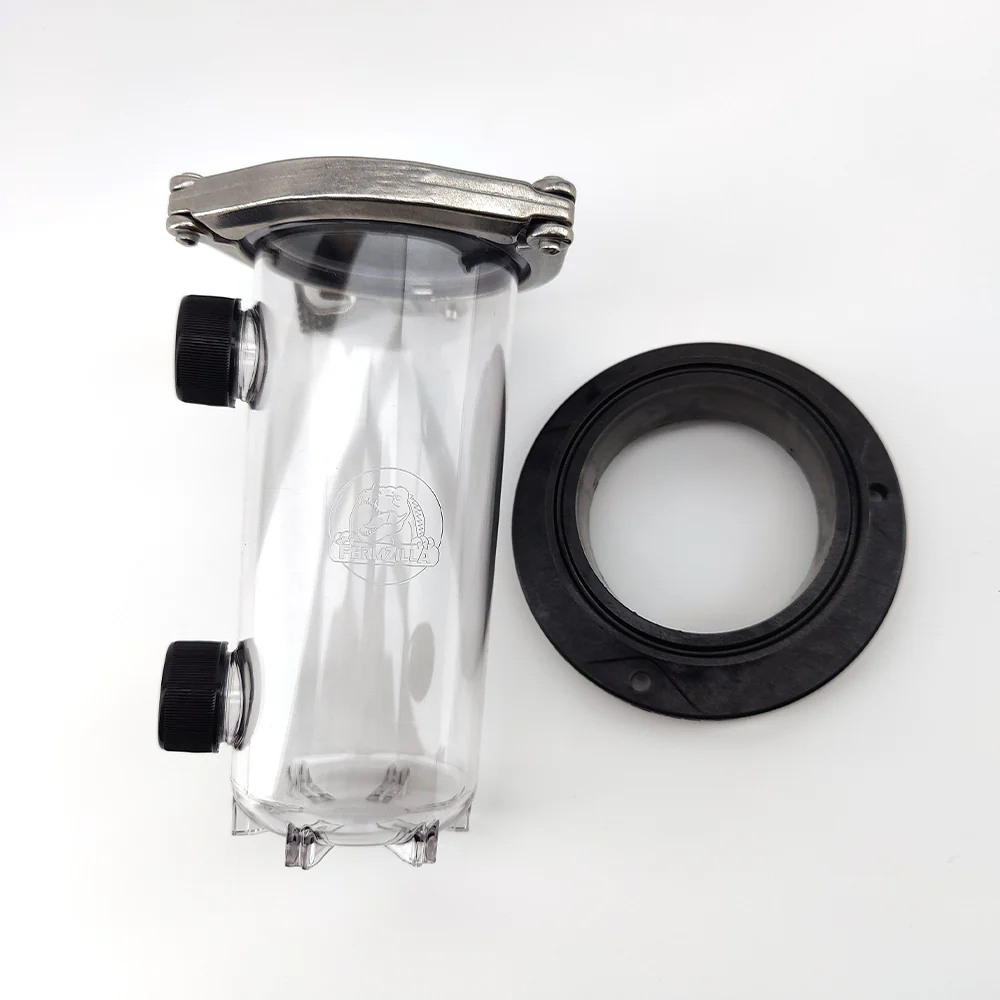
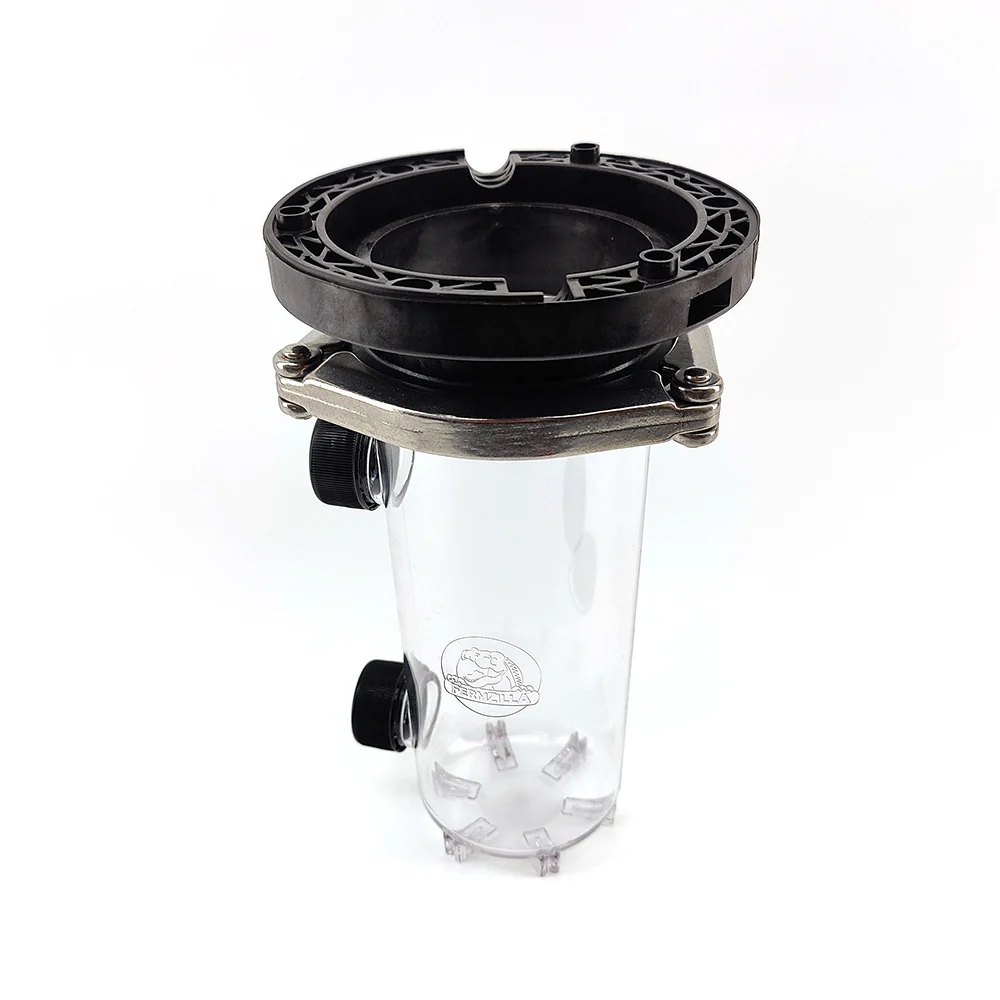
1. Unscrew the 6 x Bolts with a 5mm Allen Key from your current Tri-Conical Butterfly Valve. There will be a washer for each nut, try not to lose it!
2. Peel apart the butterfly valve, having the 1000mL Collection container attached makes this part a little bit easier as you'll have more to grip onto.
3. Once apart put aside the 2" Section and replace with the 3" Section. Take note of the orientation as there are grooves to show which direction the butterfly gate can go.
4. Screw Back together, tightening a little bit by little bit in sequence. Overtightening may cause the nut to round out the plastic, be careful.
Instructions:
1. Unscrew the 6 x Bolts with a 5mm Allen Key from your current Tri-Conical Butterfly Valve. There will be a washer for each nut, try not to lose it!
2. Peel apart the butterfly valve, having the 1000mL Collection container attached makes this part a little bit easier as you'll have more to grip onto.
3. Once apart put aside the 2" Section and replace with the 3" Section. Take note of the orientation as there are grooves to show which direction the butterfly gate can go.
4. Screw Back together, tightening a little bit by little bit in sequence. Overtightening may cause the nut to round out the plastic, be careful.
Details & Craftsmanship
Every detail has been carefully considered to bring you the perfect product.
Details & Craftsmanship
Every detail has been carefully considered to bring you the perfect product.
Description
To upgrade your FermZilla Tri-Conical 1000mL Threaded collection container to the Generation 3.1 600mL x 3 Inch Tri-Clover you will need this kit.
Instructions:
1. Unscrew the 6 x Bolts with a 5mm Allen Key from your current Tri-Conical Butterfly Valve. There will be a washer for each nut, try not to lose it!
2. Peel apart the butterfly valve, having the 1000mL Collection container attached makes this part a little bit easier as you'll have more to grip onto.
3. Once apart put aside the 2" Section and replace with the 3" Section. Take note of the orientation as there are grooves to show which direction the butterfly gate can go.
4. Screw Back together, tightening a little bit by little bit in sequence. Overtightening may cause the nut to round out the plastic, be careful.